Showing posts with label tutorial. Show all posts

Tuesday, March 31, 2015

easy no-sew garden utility apron

I saw the coolest video about a no-sew garden apron on CHOW.

I immediately had to make one, so I took photos to show you how to make one too!

First you find an old pair of jeans: 


Now cut off the legs all the way across(front and back).


Turn them over and cut below the waistband and down the seam on each side.


TA DA….you have an apron, ready to wear!


 Put it around your waist and snap or button, then fill the pockets
with your garden tools and go play : )


I suppose you could embellish it with fabric or lace, but this one
will stay as it is and I am ready to put it to work on this beautiful Spring day.

garden apron tutorial

How was that for a quick and easy project….

piece,
elizabeth

Wednesday, March 4, 2015

needle minder tutorial


I didn't know what a needle minder/pin keeper was until I saw one on one
of my friends IG(Instagram).  I wanted to make one and I found a 
cool IG tutorial on What the Bobbin blog.

You can use a needle minder for hand stitching, embroidery, cross stitch, appliqué,
hand binding a quilt…any time you need to keep track of your needles or pins!

So here are a few that I have made today along with a mini tutorial….they are a bit addicting : )

Supplies:
Button cover kit
Magnets
Fabric 
Super Glue
Scissors

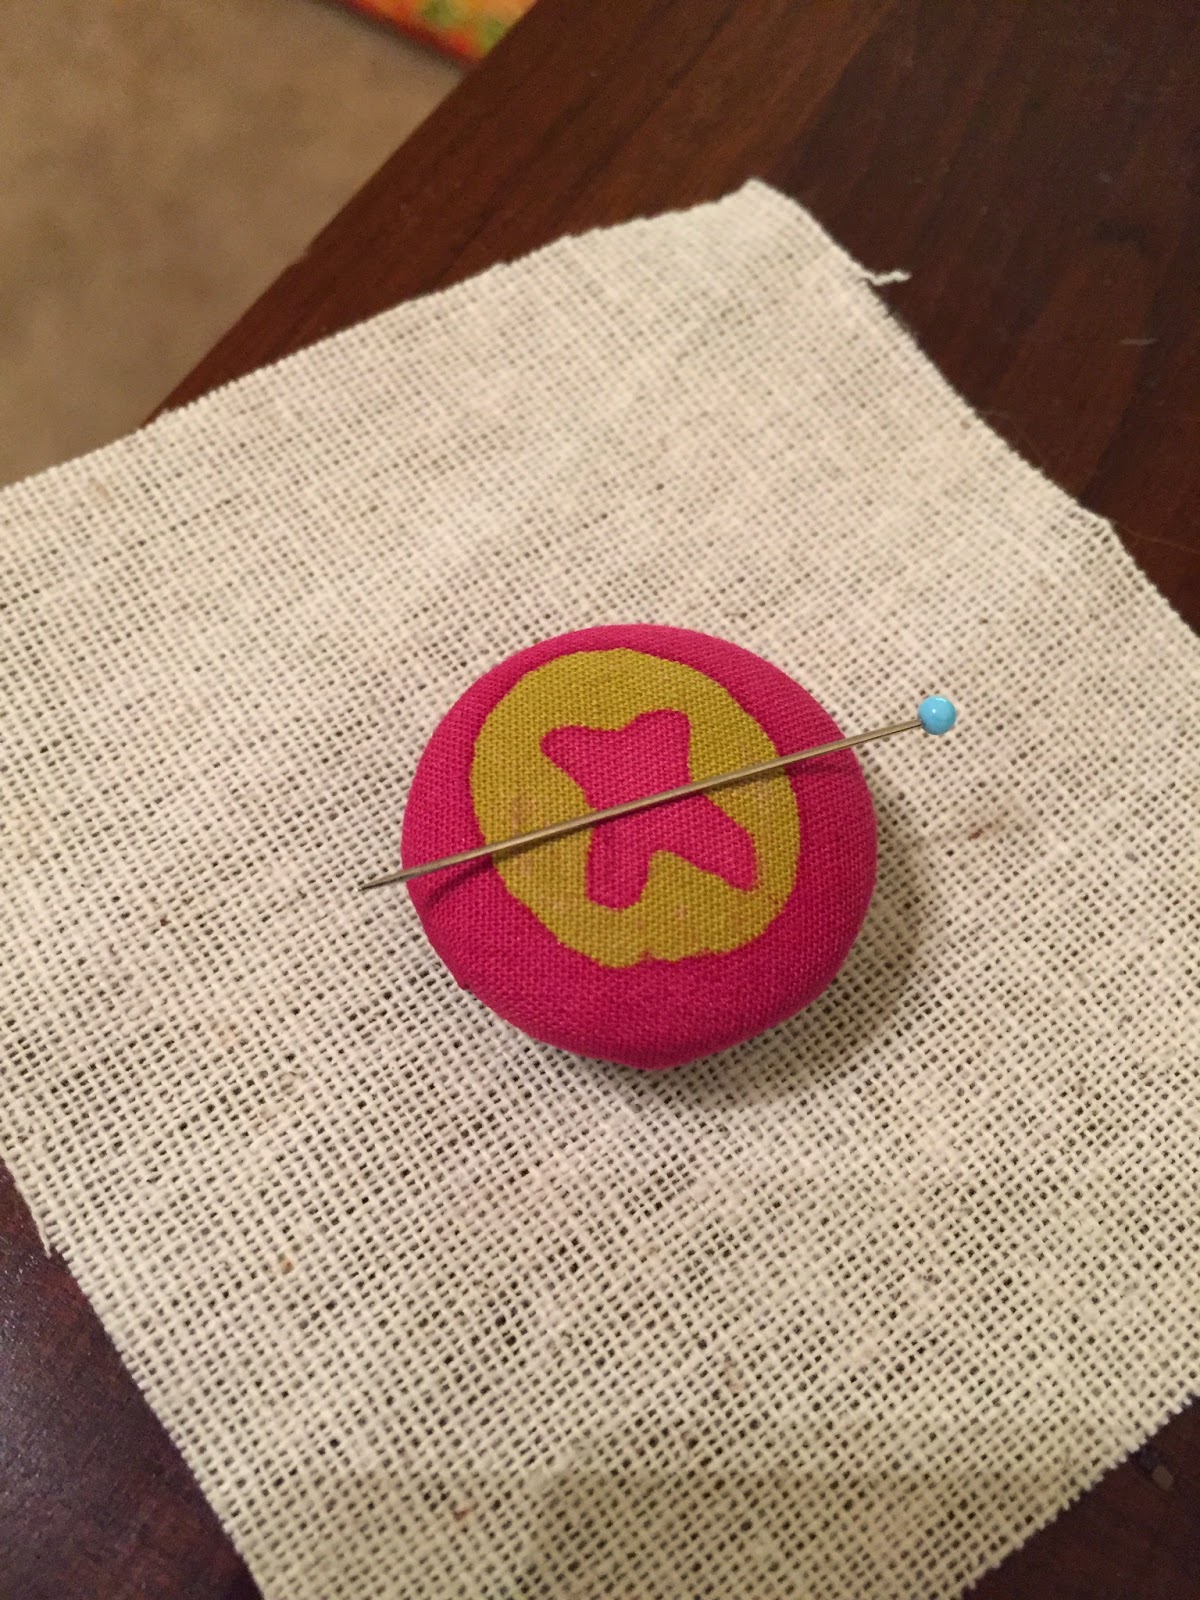
pin keeper tutorial

Use the template provided in the button cover kit to draw a circle for the button.


Cover the button according to the directions given in the kit.


Apply super glue to attach the magnet to the button.


                         You will need two magnets when using your needle minder.


pin keeper


I am warning you….they are so much fun to make!  You will not be
able to stop at one : )


Enjoy!

piece,
elizabeth


Thursday, October 23, 2014

liberty of london coasters

I am making some coasters for my swap partner in the Liberty of London swap.
I thought it would be fun to show you the process/tutorial for these coasters.
Here goes:

Start with two  2 inch hexagons and sew them together using a slip stitch.


Remove the hexagon papers(I save them to use again) and secure the hexagons
 to the 5.5"X5.5" piece of fabric(I used osnaburg cotton) 
with washable glue or pins.


Machine or hand stitch the hexagons to the fabric square.


Cut a 5.5"X5.5" piece from thin batting and place on wrong side of the hexagon square.


Place the backing fabric right sides together and sew around the square,
leaving a small opening for turning.


Be sure to clip the corners before turning.

Turn, shape and iron your square preparing for stitching around the edges.


Stitch close to edge, starting with the opening side.

Iron flat and admire : )
liberty of london coasters

liberty of london coasters tutorial

I plan to make more hexagon coasters!  Please let me know if you do…they
are so easy to make and are a great little gift!

piece,
elizabeth


Sunday, June 2, 2013

little quilt monday~~~okcmqg bom


Little Quilt Monday

June is my month to provide a block for the OKCMQG BOM.
(Oklahoma City Modern Quilt Guild Block of the Month : )

You can find the tutorial for my block here at the 

simply squares block

I think it will make an awesome pillow or make
four blocks and it will be a darling mini quilt!

I hope you will make this block, and please let me know if you do : )

Now it is your turn to link up something to

Little Quilt Monday

1.  This link-up party is for any small project.  For example, mini quilts, doll quilts, baby quilts, place mats, mug rugs,
wall quilts, table runners, etc.

2.  They can be a WIP(work-in-progress) or finished.

3.  If it is something from the past there is no need to write a new blog post, just link the one that you have already written, and, please link back to my blog post.

4.   If you are interested, you can add your pictures to my flickr group here, or join my Facebook group here. 

Let's inspire each other!

piece,
elizabeth


Monday, February 11, 2013

little quilt monday~~~infinity scarf


Little Quilt Monday

I know this is not a quilt project, necessarily, but it is all I have
for today.  And it was loads of fun to make!
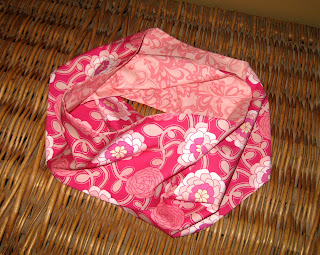
I ran across the link for a tutorial on making an
infinity scarf from two fat quarters here.

I decided to make one while I watched the Grammy's last night : )
It was so quick and easy.


I have a fat quarter bundle of Poetica by Art Gallery Fabrics
and I had a hard time deciding which fabrics to use, so
I will probably make another soon!

Although the tutorial calls for batting, I decided not to
add any so I can wear it in the cooler Spring months or
inside without getting too hot.  The fabrics also look like Spring
and I have Spring fever : )


I am planning to do some hand stitching in pink.
I always look forward to that process....it is so relaxing.


Now it is your turn to link up something to

Little Quilt Monday

1.  This link-up party is for any small project.  For example, mini quilts, doll quilts, baby quilts, place mats, mug rugs,
wall quilts, table runners, etc.

2.  They can be a WIP(work-in-progress) or finished.

3.  If it is something from the past there is no need to write a new blog post, just link the one that you have already written, and, please link back to my blog post.

4.   If you are interested, you can add your pictures to my flickr group here, or join my Facebook group here. 

Let's inspire each other!

piece,
elizabeth


Thursday, June 21, 2012

show off friday~~~prairie points process


Show Off Friday
Here are the pictures(lots of them) of my process, while making the prairie points for my mini quilt.
I got my inspiration and guidance from McCall's Quilting,
issue July/August 2010....Get The Point, a pillow using prairie points.

I started with 3 inch fabric strips, folded in half(lengthwise) and cut in 3 inch segments.


Next I made the prairie points by folding each end to the center, toward the
unfinished edge.

I lined the PP on my cutting board, overlapping by 1 inch.

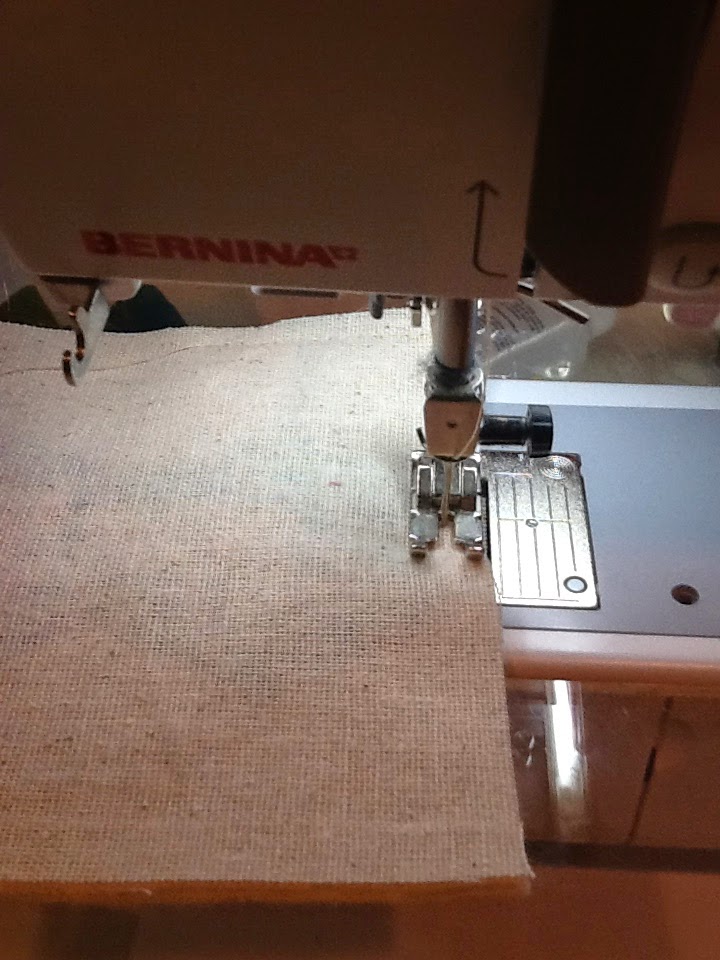
Now it is time to start sewing them to my linen.  I pinned the PP to a piece of linen and then
added a 1.5 inch strip and sewed across the top.


I lined up the next row and repeated the process.


  I hope these pictures have helped you understand how easy PP can be!
I will show you my finished mini quilt using prairie points on Monday : )

Now it is your turn to link up something~~~~ what do you have for

Show Off Friday

There are no rules for this link up party....this is just the place to show off projects you are working on!


piece,
elizabeth