


I added a 3 inch border. When I add a border I measure from the middle instead of the edge. In a small quilt it doesn't make too much difference, but the larger the quilt, the more likely that the edges will be a little bit larger. By measuring in the middle, you can keep your quilt top square. I pin the border at each end and then find the center, and pin again. Then if you have to, you can ease the two pieces as you sew to make them flat. I know this may sound weird, but it works : )


Next I cut my pinwheels using the Lil' Twister tool.


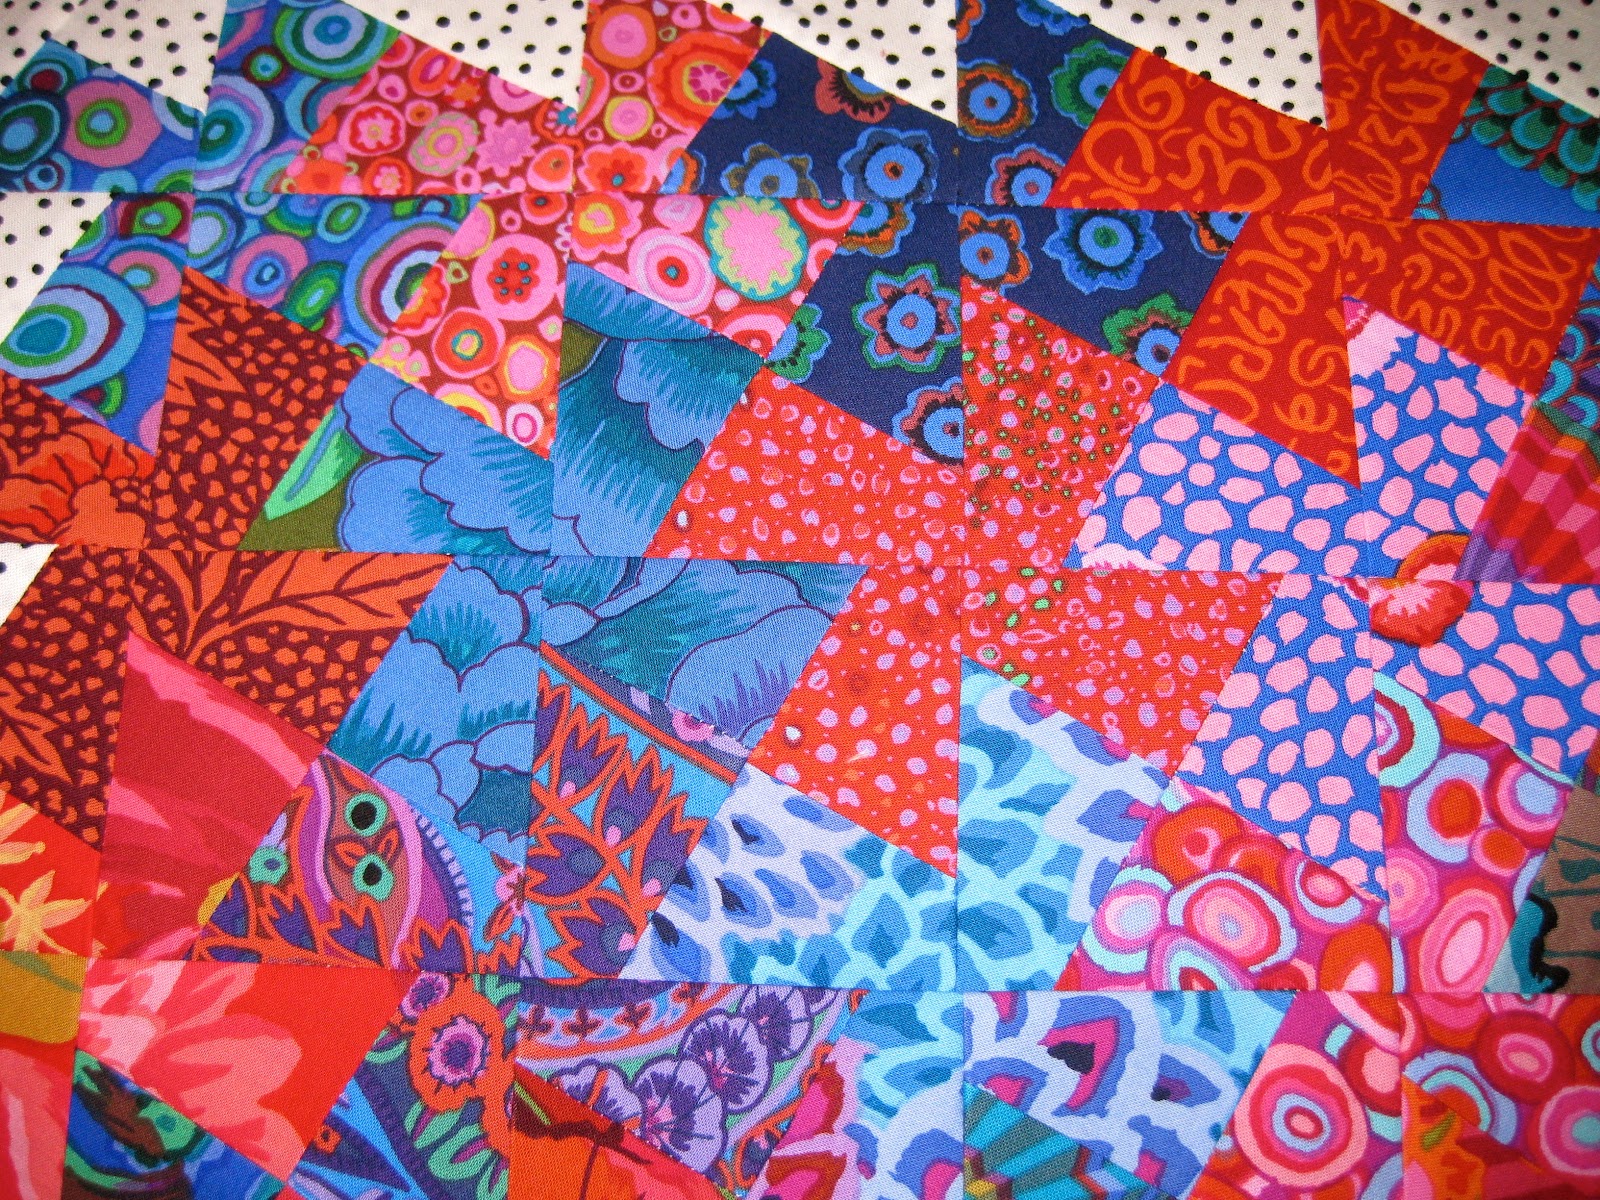
I started at the top left and cut them in rows. It is important to keep the pieces in order. I found it is easier to cut the squares if you put your cutting mat on a table that you can walk around as you cut. Once you begin cutting you can't really pick up the fabric or move it around.


I'm not sure what I will do with the scraps, but I kept them and I may use them with the back of my mini quilt. Next, I turned each square to make a pinwheel and I am ready to sew each row together.


Now they are sewn together and ready for some hand stitching!


I am glad that I finally used this fun tool, it makes the pinwheels easy and uniform.
I am linking up to Tutorial Tuesday at a darling blog called Lawson and Lotti.
piece,
elizabeth
10 comments:
Oooh I love your mini quilt, so lovely and bright, and what a great way of doing it. Thanks for sharing and linking up at Tutorial Tuesday
Ooops just noticed there is no link on your post, next time could you pop in a link or grab the button. Thanks
I like that quilt. The first time I saw one of those tools I could not figure out exactly what the heck to do with it. But wanted to make one. Thank you for the good walk thought.
http://richardquilts.blogspot.com
Cute! I love the fabrics you used. I bought one of those tools a year or so ago but haven't test driven it yet.
I love my Lil' Twister tool too! Your Kaffe fabrics look fabulous with this pattern!
Thank you for the tutorial, I bought the mini Twister and I think your directions are better than the original that came with the tool. I'm sure that once you use it, you see how it works. Anxious to try mine now
I've seen a lot of these quilts around, and didn't really understand how they worked. Thanks for a grea tut!
yours look GREAT! I have this tool too and don't like it, I think my base squares are just UGLY, so that's why I don't like it, I need to try again ONE day.
This is so clever Elizabeth - I haven't seen this tool used before but the results are amazing!!!
Oh, my! Amazing! I'm always intrigued by the way that it's possible to sew things together, then cut them up, then sew them back together. Like Tossed Nine-Patches, and things like that. LOVE THIS! Thanks for sharing the process. When I saw the quilt top on Monday, I had no idea this was how it's done. Very impressive. Inspiring! Thanks!
Post a Comment