Tuesday, March 31, 2015

easy no-sew garden utility apron

I saw the coolest video about a no-sew garden apron on CHOW.

I immediately had to make one, so I took photos to show you how to make one too!

First you find an old pair of jeans: 


Now cut off the legs all the way across(front and back).


Turn them over and cut below the waistband and down the seam on each side.


TA DA….you have an apron, ready to wear!


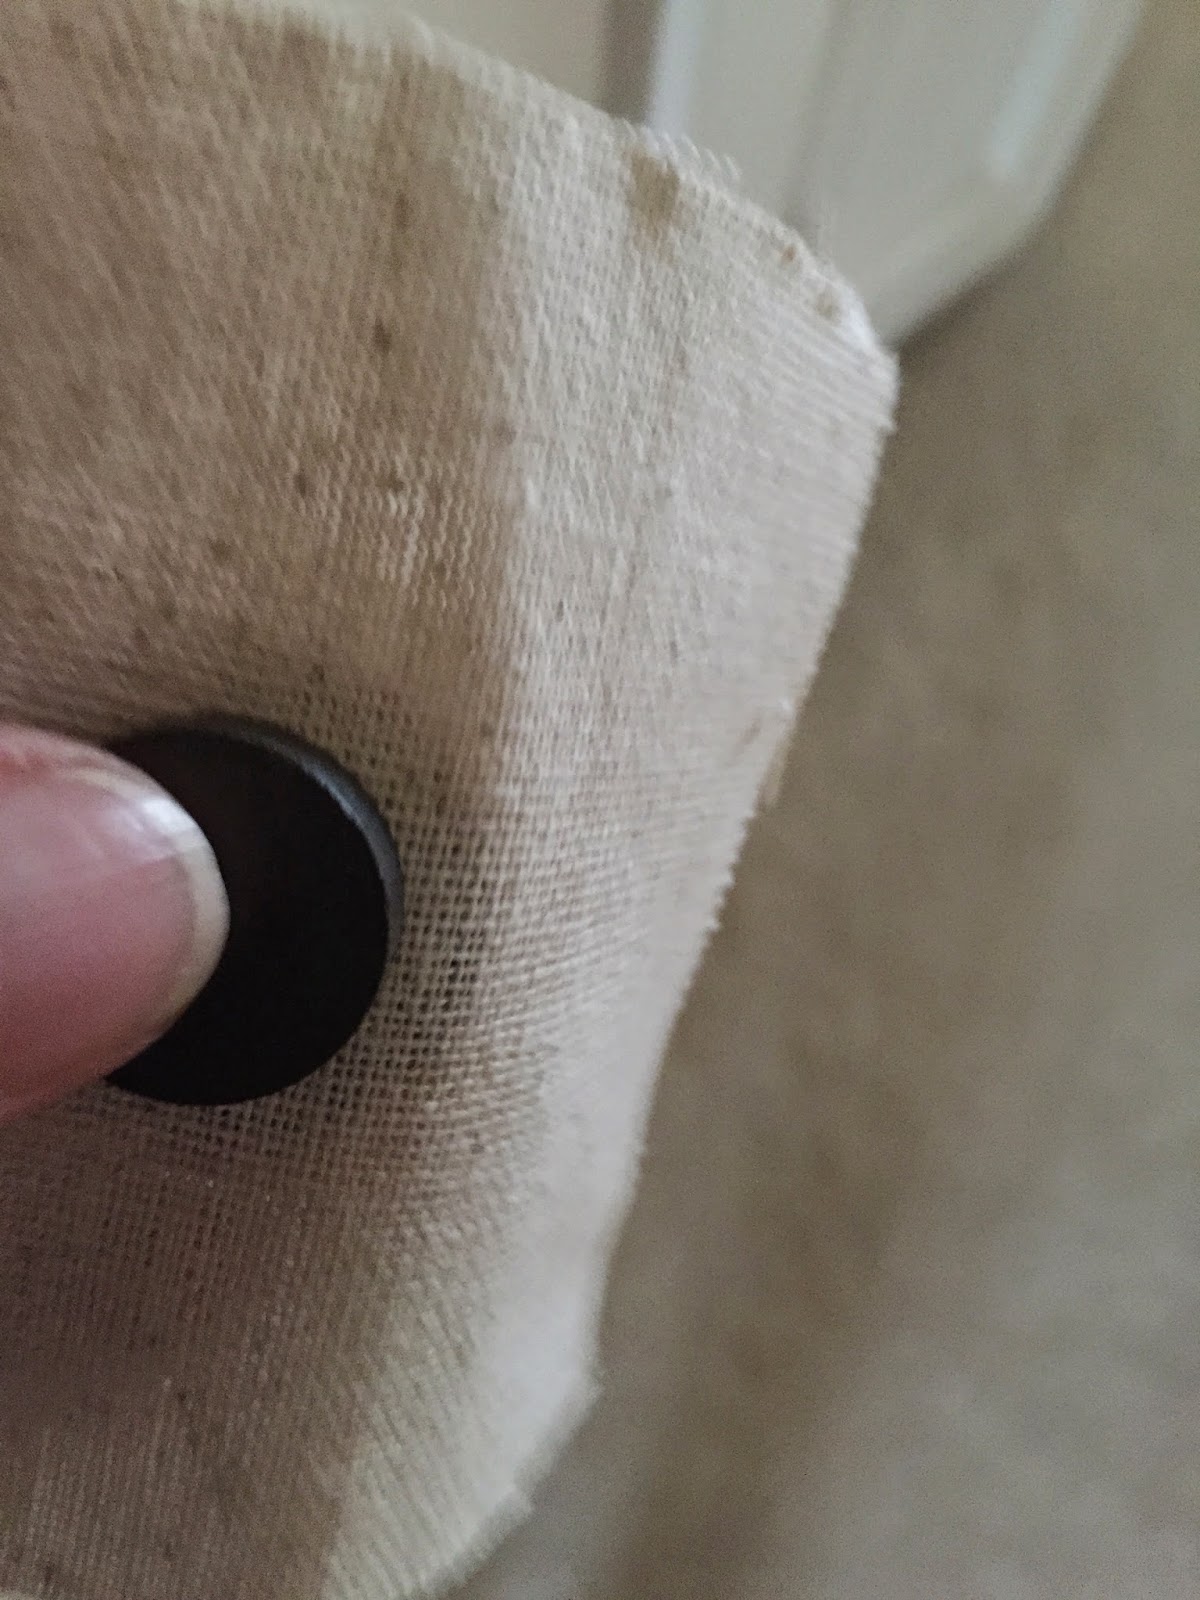
 Put it around your waist and snap or button, then fill the pockets
with your garden tools and go play : )


I suppose you could embellish it with fabric or lace, but this one
will stay as it is and I am ready to put it to work on this beautiful Spring day.

garden apron tutorial

How was that for a quick and easy project….

piece,
elizabeth
Wednesday, March 25, 2015

finished WIP

I have had this table runner/ work-in-progress for a long time.
 All it needed was to be machine quilted, so I decided to practice 
my straight line quilting on this project.


It is always good to finish a project…especially one that has
been hanging around awhile!

piece
elizabeth


Sunday, March 8, 2015

little quilt monday~~~liberty of london swap mini quilt

I made a mini quilt for the Liberty of London Swap 2.
I started with hexagons and then sewed them together
into a heart.  My swap partner likes hearts, so that helped
me decide what to do with the hexagons.


I used Essex linen/cotton blend in gray for the background and
it really set off the bright colors of the hexagons.


I machine quilted on the diagonal in straight stitches and
 I chose a bright LOL fabric for the binding.


My swap partner received my package this week and is pleased with her mini quilt!

liberty of london fabric

I sent a few other small quilted items that I will post about later in the week.

piece,
elizabeth


Wednesday, March 4, 2015

needle minder tutorial


I didn't know what a needle minder/pin keeper was until I saw one on one
of my friends IG(Instagram).  I wanted to make one and I found a 
cool IG tutorial on What the Bobbin blog.

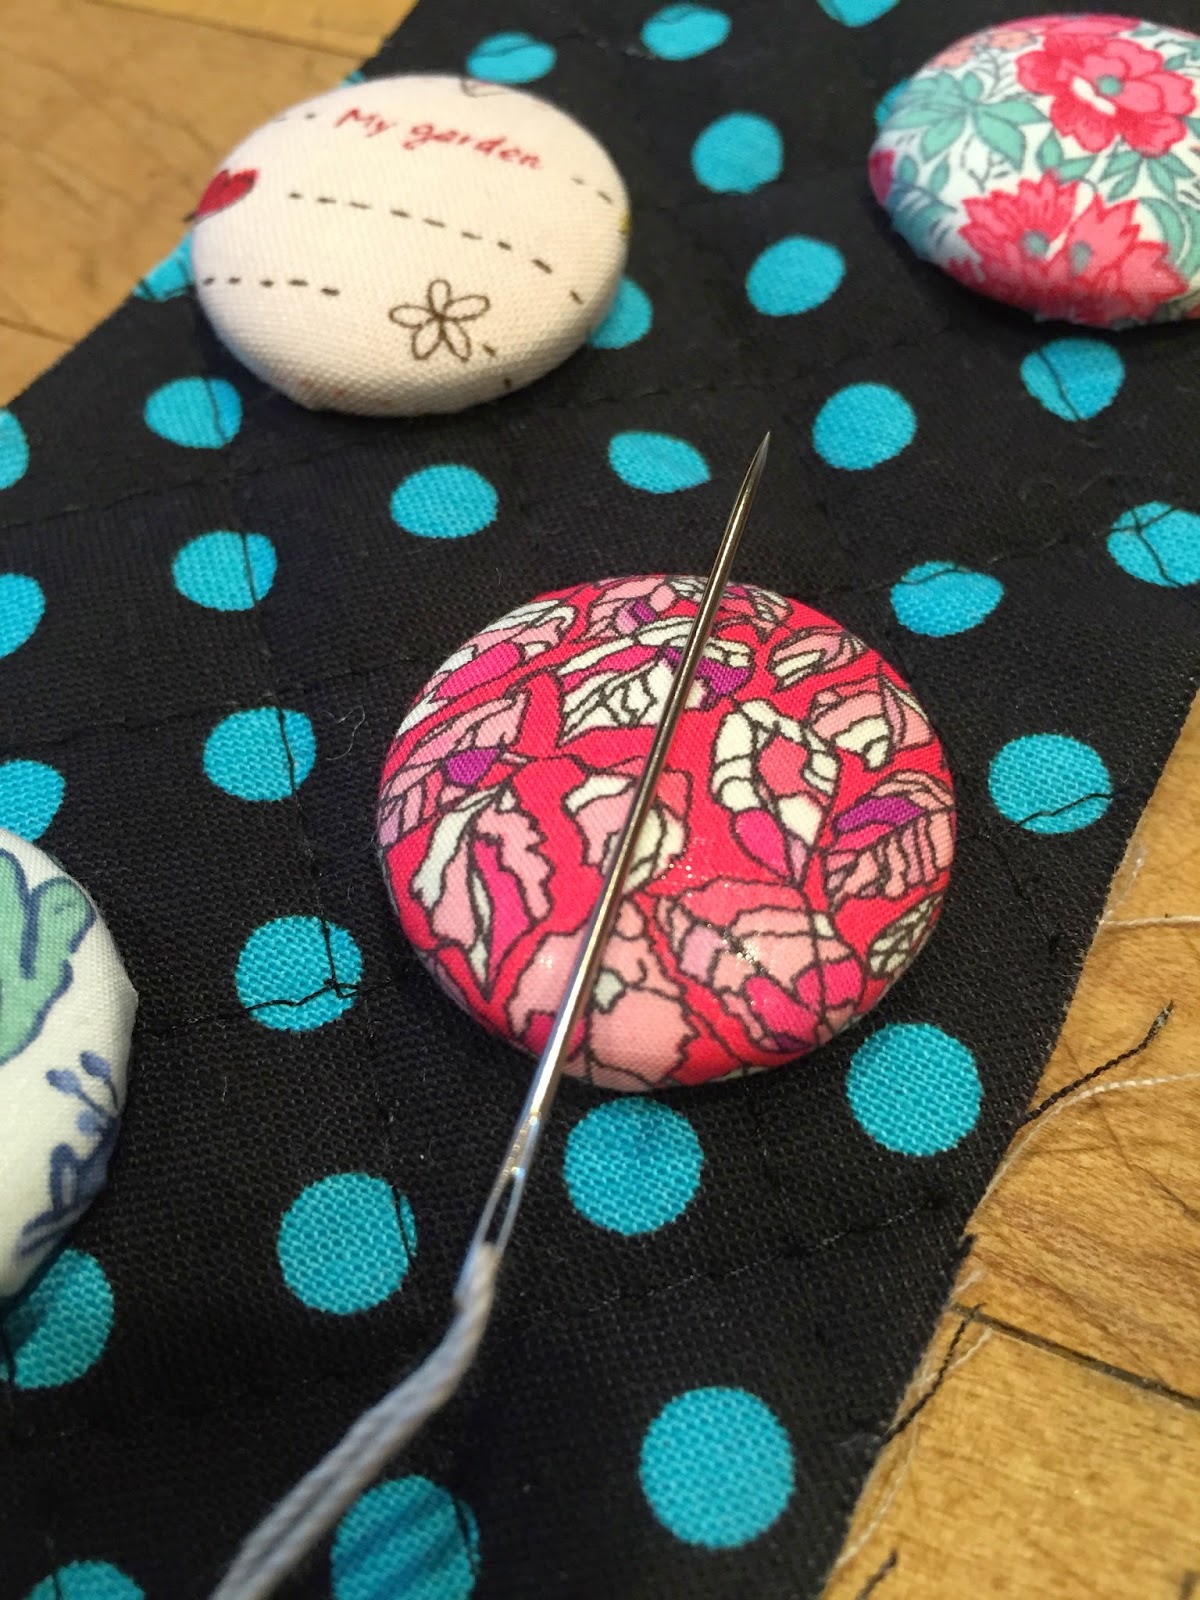
You can use a needle minder for hand stitching, embroidery, cross stitch, appliqué,
hand binding a quilt…any time you need to keep track of your needles or pins!

So here are a few that I have made today along with a mini tutorial….they are a bit addicting : )

Supplies:
Button cover kit
Magnets
Fabric 
Super Glue
Scissors

pin keeper tutorial

Use the template provided in the button cover kit to draw a circle for the button.


Cover the button according to the directions given in the kit.


Apply super glue to attach the magnet to the button.


                         You will need two magnets when using your needle minder.


pin keeper


I am warning you….they are so much fun to make!  You will not be
able to stop at one : )


Enjoy!

piece,
elizabeth