Wednesday, January 25, 2012

velveteen pinkeeper tutorial


I have been wanting to buy some of Anna Maria Horner's velveteen and today I found some at my LQS.  I couldn't wait to make something and decided on a magnetic pinkeeper.   First I looked through my magnets and made sure that it would hold the pins through the fabric.  This one worked great.


Then I cut a 3 inch hexagon(one of my favorite shapes lately) out of the beautiful velveteen.


I cut some batting a little bit smaller than the velveteen and glued it to the wrong side of the back.  Then I  sewed around the hexagon, leaving one side open so I could turn it right side out.


After I turned it right side out, I placed some glue on the magnet and put it inside the hexagon before sewing the opening closed.


Now the fun begins : )  I picked two colors of crochet thread and big stitched around the hexagon.


 It is going to be a fun pinkeeper to use!  It will travel well and not take up much room because it is flat.
This was such an easy, quick project.  Simple and soft and satisfying : )


If you make one, I would love to hear about it....

piece,
elizabeth


Tuesday, January 24, 2012

wip wednesday~~~ quilted bathmat


My first WIP is another rose bud hexagon, but this beauty is destined to be a star : )  I am going to add a few more petals to this one to make the rose star block.  This hexagon is larger than the one I am using here, making it easier to piece the smaller sections of the rose star block.


I am also working on a quilted bathmat.  The fabric squares are from a Moda Etchings charm pack and the backing will be white terry cloth.


It appears that I will have to cut the terry cloth another day : )

piece,
elizabeth

pinwheel mini quilt process post


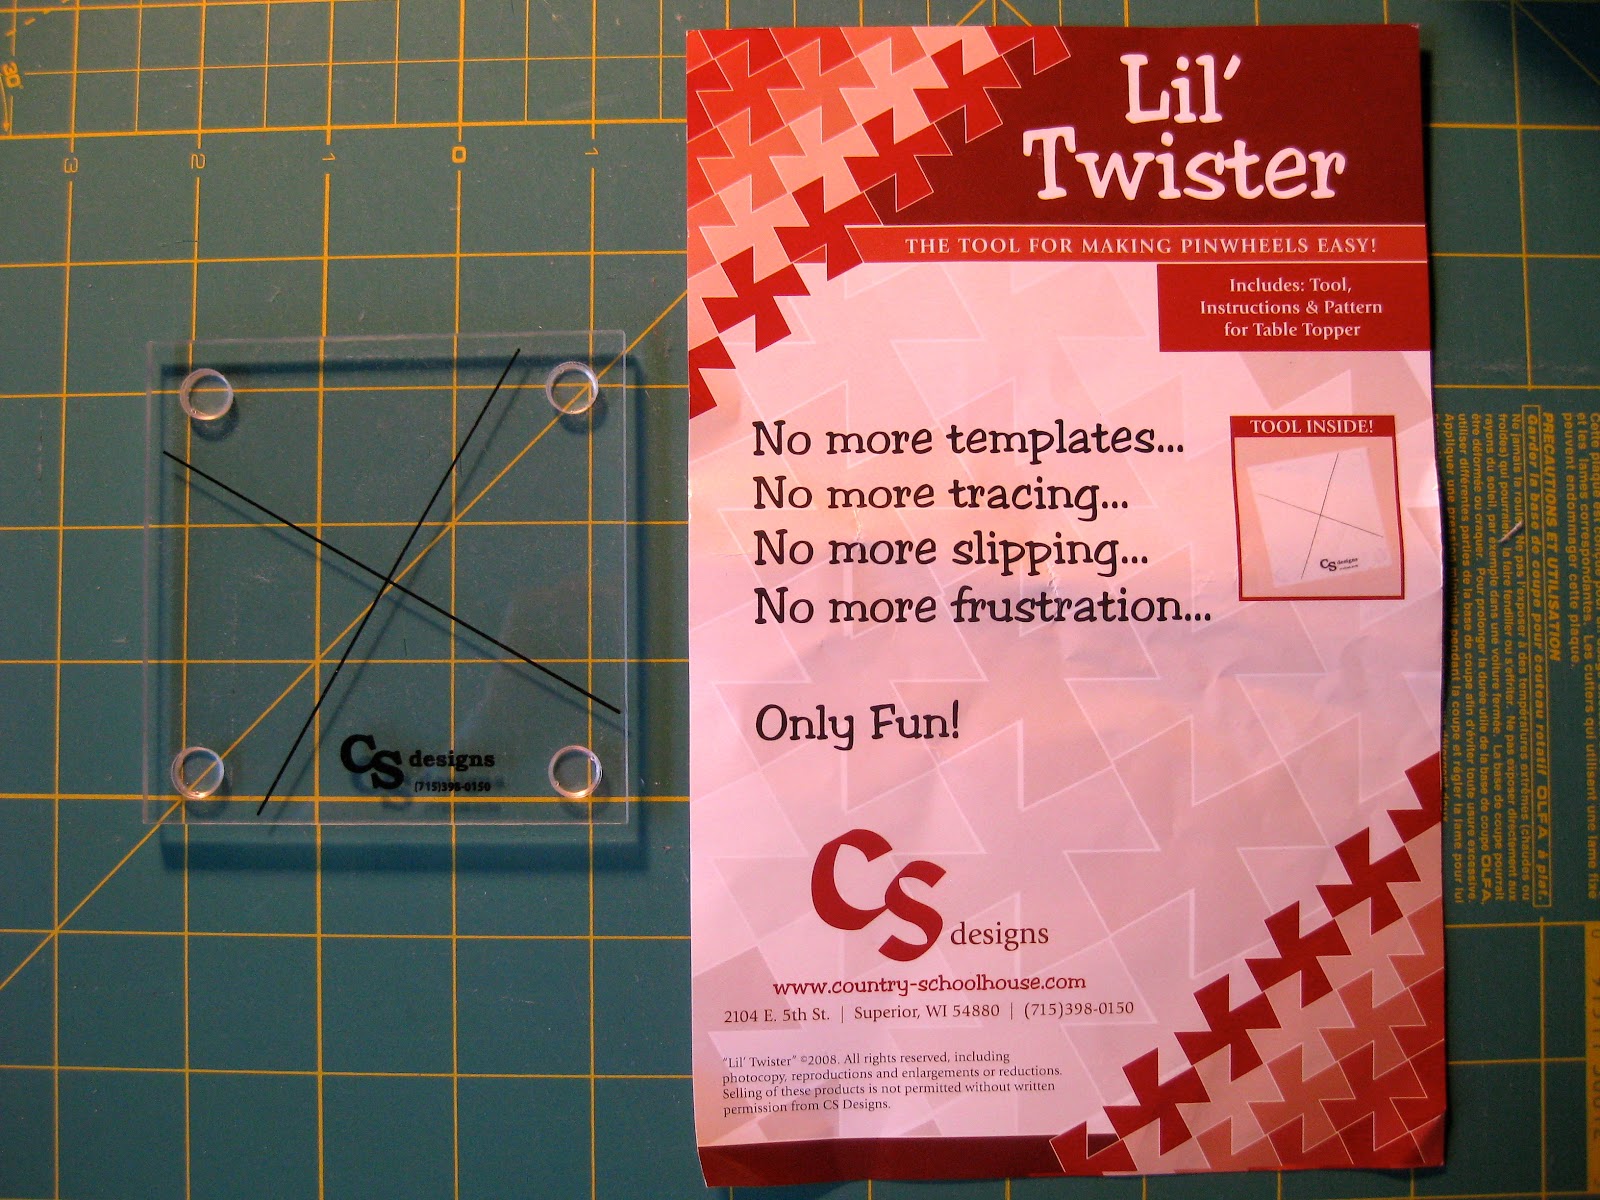
I took some pictures while I was making the mini pinwheel quilt, using the Lil' Twister tool.   I began with twenty-four  5 inch squares that I cut using my Go!Baby fabric cutter by Accuquilt.  I sewed them together, using a 1/4 inch seam allowance in a 4 X 6 pattern.


I added a 3 inch border.  When I add a border I measure from the middle instead of the edge.  In a small quilt it doesn't make too much difference, but the larger the quilt, the more likely that the edges will be a little bit larger.  By measuring in the middle, you can keep your quilt top square.  I pin the border at each end and then find the center, and pin again.  Then if you have to, you can ease the two pieces as you sew to make them flat.  I know this may sound weird, but it works : )


Next I cut my pinwheels using the Lil' Twister tool.


I started at the top left and cut them in rows.  It is important to keep the pieces in order.  I found it is easier to cut the squares if you put your cutting mat on a table that you can walk around as you cut.  Once you begin cutting you can't really pick up the fabric or move it around.  


I'm not sure what I will do with the scraps, but I kept them and I may use them with the back of my mini quilt.  Next, I turned each square to make a pinwheel and I am ready to sew each row together.


Now they are sewn together and ready for some hand stitching!


I am glad that I finally used this fun tool, it makes the pinwheels easy and uniform.
I am linking up to Tutorial Tuesday at a darling blog called Lawson and Lotti.  

piece,
elizabeth

Sunday, January 22, 2012

little quilt monday~~~pinwheel mini quilt


Little Quilt Monday

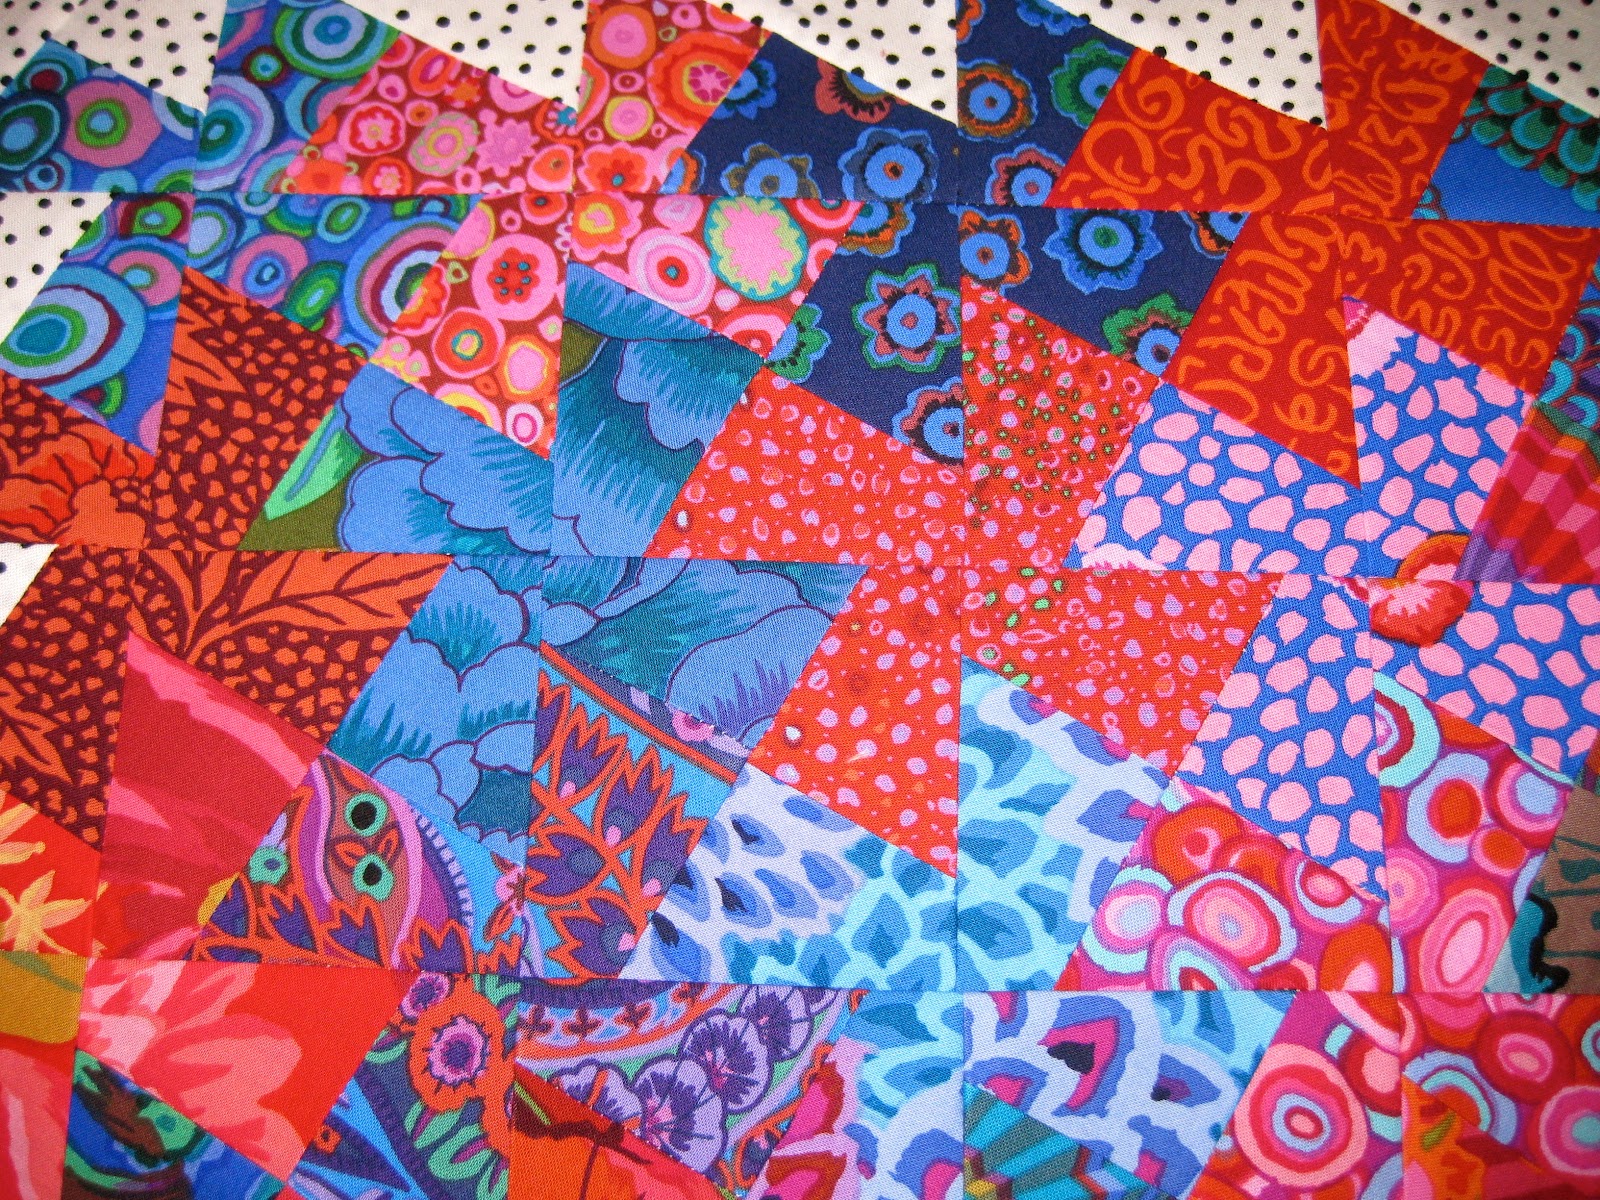
I have been wanting to try the Lil' Twister tool for making pinwheel blocks.  I bought mine at an Oregon quilt shop in December and have finally had a chance to use it.  I will show my process photos on my next blogpost.  Today I want to show you my finished mini pinwheel quilt top.


I used some bright, cheery Kaffe Fasset fabric from my stash.  


I plan to hand stitch with some turquoise crochet thread.


I haven't decided what pattern to use when I big stitch this mini quilt, so any suggestions would be appreciated, as always : )

Now it is your turn to link up to

Little Quilt Monday

1.  This link-up party is for any small project.  For example, mini quilts, doll quilts, baby quilts, place mats, mug rugs,
wall quilts, table runners, etc.
2.  They can be a WIP(work-in-progress) or finished.
3.  If it is something from the past there is no need to write a new blog post, just link the one that you have already written, and, please link back to my blog post.
4.   If you are interested, you can add your pictures to my flickr group here, or join my Facebook group here. 


Let's inspire each other!

piece,
elizabeth

Saturday, January 21, 2012

pincushion parade

There is a pincushion link up party over here this week.  I thought it would be fun to join the parade, so here are a few of my pincushions!

 I made these and had fun with the stitching and beads.


 I bought this one....I liked the piece/peace sign.


 I cross-stitched these.


I made this fun one.

 I bought both of these... the strawberry sharpens the pins and the heart can be used on my wrist.

This is one I have used since I was a little girl. It is velvet and was in my mother's sewing box : )

I hope you enjoyed the pincushion parade.   You will want to visit other blogs here for more pincushion inspiration.

piece,
elizabeth


Friday, January 20, 2012

more rose buds


I am enjoying making these rose buds : )  I haven't decided how I will use them yet, but I know that I will figure that out eventually.  For now I will just keep making my little rose bud hexagons.


It is fun to watch a garden grow in the winter!

piece,
elizabeth